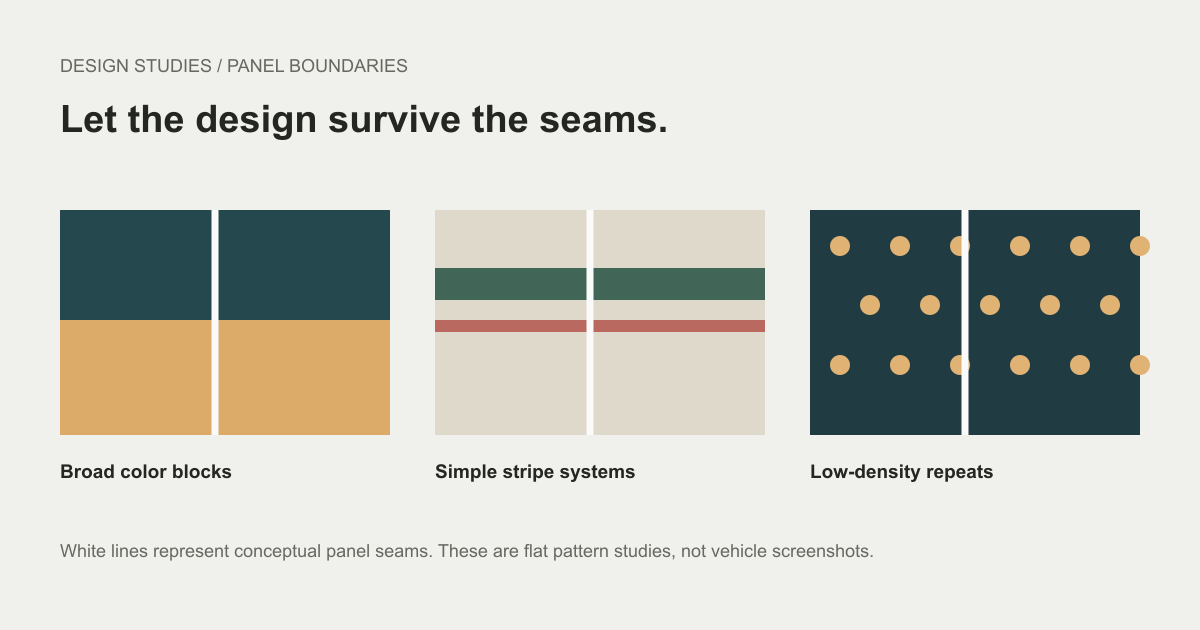
A stripe can look perfect in a flat PNG and break into disconnected pieces when mapped across doors and fenders. For a digital Tesla Model Y wrap, the useful question is not only "Which color looks good?" It is "Where does this shape land on the car?"
These six design directions give you a concrete place to start, with placement decisions and preview checks for each. They are creative suggestions, not results from an aesthetic experiment. The focus is Tesla Paint Shop artwork; none of these designs changes your vehicle's physical finish.
Before you choose a direction
- Select the correct Model Y template; Tesla publishes five Model Y folders.
- Plan large color regions before small text or graphics.
- Check both sides, the hood, the roof, and the rear in a mapped preview.
- Export a PNG that meets Tesla's file rules and verify feature availability separately.
Choose a layout before a look
Tesla's official custom-wrap repository includes modely, three 2025 Model Y variants, and modely-l. Those layouts should not be treated as interchangeable because their canvases share a size. The template guide lists the official folders and explains how to choose a starting file.
For the ideas below, judge a design against three practical criteria: whether its main shape is easy to place, whether it remains readable from more than one angle, and whether it depends on a seam lining up precisely. These criteria help you decide what to adjust; they do not rank the designs as universally best.
The design gallery can help you compare colors and composition before using your vehicle's template.
1. Two-tone body with a deliberate boundary
Start with two solid colors and decide exactly where the second color begins. A dark lower region with a lighter upper body is one possible arrangement; a contrasting roof is another. Keeping the first version to two colors makes misplaced boundaries easier to notice.
Place the transition using the mapped panels rather than an arbitrary horizontal line across the PNG. Inspect the front and rear corners, where a boundary that looks level from the side may turn unexpectedly. If a continuous line proves difficult to align, use separate panel regions with intentional breaks.
Save the palette before experimenting with a third accent color.
2. A broad motorsport stripe
Choose one broad stripe across a hood or roof region and make its direction explicit. Begin with a single band before adding parallel pinstripes, numbers, or secondary graphics. That keeps the initial mapping problem manageable.
Check the stripe from the front, above, and behind. If it needs to cross between separate panel regions, position each segment deliberately and compare the joins. A stripe confined to one panel can be a valid final design rather than an unfinished compromise.
Use your own numbers and lettering if you add a racing motif. Avoid copying a team's logo or a commercial livery unless you have permission to use those assets.
3. A diagonal side graphic
Build one diagonal wedge or band on a side panel, then inspect how it behaves across the doors. A large diagonal gives you a clear focal shape without requiring a detailed illustration.
The opposite side deserves its own check. Decide whether the composition should mirror or maintain a particular front-to-back direction. Text, arrows, and asymmetric symbols make this distinction especially visible; blindly reflecting the entire image can reverse the intended message.
Keep early versions free of small lettering. Once the direction reads correctly on both sides, add a limited accent and check the rear quarter region. A seam can serve as an intentional endpoint for the band.
4. An original geometric pattern
Use a small family of shapes, such as large triangles or offset rectangles, and repeat them with controlled spacing. Choose a few colors that remain distinguishable when viewed together. You do not need a dense pattern to fill every available surface.
Begin with larger shapes so that the overall rhythm remains visible in a small preview. Inspect panel boundaries for awkward fragments: half of a tiny triangle at a seam can look accidental. Adjust the pattern locally or give the panel edge a quiet margin.
Changing the palette gives you a straightforward way to make a series.
5. A monochrome design with one accent
Choose one main body color and reserve a contrasting accent for a specific region. For example, put the accent on a side band or a hood shape rather than spreading it across every panel. The constraint makes the focal point easier to decide.
Inspect whether the accent still stands out when the model is viewed from the rear or from above. If it vanishes from some angles, decide whether that is intentional before adding more marks. Compare the thumbnail and the larger preview to see which details remain legible.
A PNG's color choices do not promise a real metallic, matte, or pearlescent material. Treat descriptions of finishes as visual intentions unless the preview and target system specifically demonstrate that effect.
6. A landscape or abstract scene
Create an original horizon, wave, mountain contour, or abstract sweep using a small number of broad shapes. Decide which panel carries the main scene and which panels provide supporting color. A composition does not need to continue uninterrupted around the whole vehicle.
Check where the focal element lands in the mapped view. A mountain peak that looks central in the flat canvas may sit near a door boundary. Move the important shape to a readable area, then adjust the surrounding regions.
Use your own artwork or assets with appropriate reuse permission. Keep fine detail optional: the silhouette should communicate the concept before small textures or labels are added.
Preview, export, and import are different stages
For any direction, save a working version and inspect the mapped design before exporting. Compare front, rear, both sides, and roof views. Note whether a break is intentional, then fix the breaks that are not.
The exported PNG still needs Tesla's documented file checks. Our download and import guide covers size, naming, app upload, and USB placement. A design preview cannot establish that your vehicle has the required Paint Shop menu.
Pick one direction and build your first panel-aware version in the WrapLab3D studio.
Sources and method
Vehicle template and file-rule reference: Tesla's official custom-wrap README and assets, checked October 2, 2026. The six directions are editorial design suggestions. They have not been evaluated in a controlled aesthetic study or tested by importing them into a vehicle.